You’ll point Open WebUI’s OpenAI-compatible
connector to Paywalls, ensure every chat request carries the right user
identity for metering, and end up with automatic per-user pricing, rate
limits, and reporting—without changing your users’ workflow.
Prerequisites
- Paywalls API key (Dashboard → Paywall → API keys)
- Open WebUI admin access (so you can edit Connections and Filters)
1. Add Paywalls as the OpenAI-compatible Connection
Open the Connections page
In Open WebUI click your avatar → Admin Panel → Connections → + New Connection.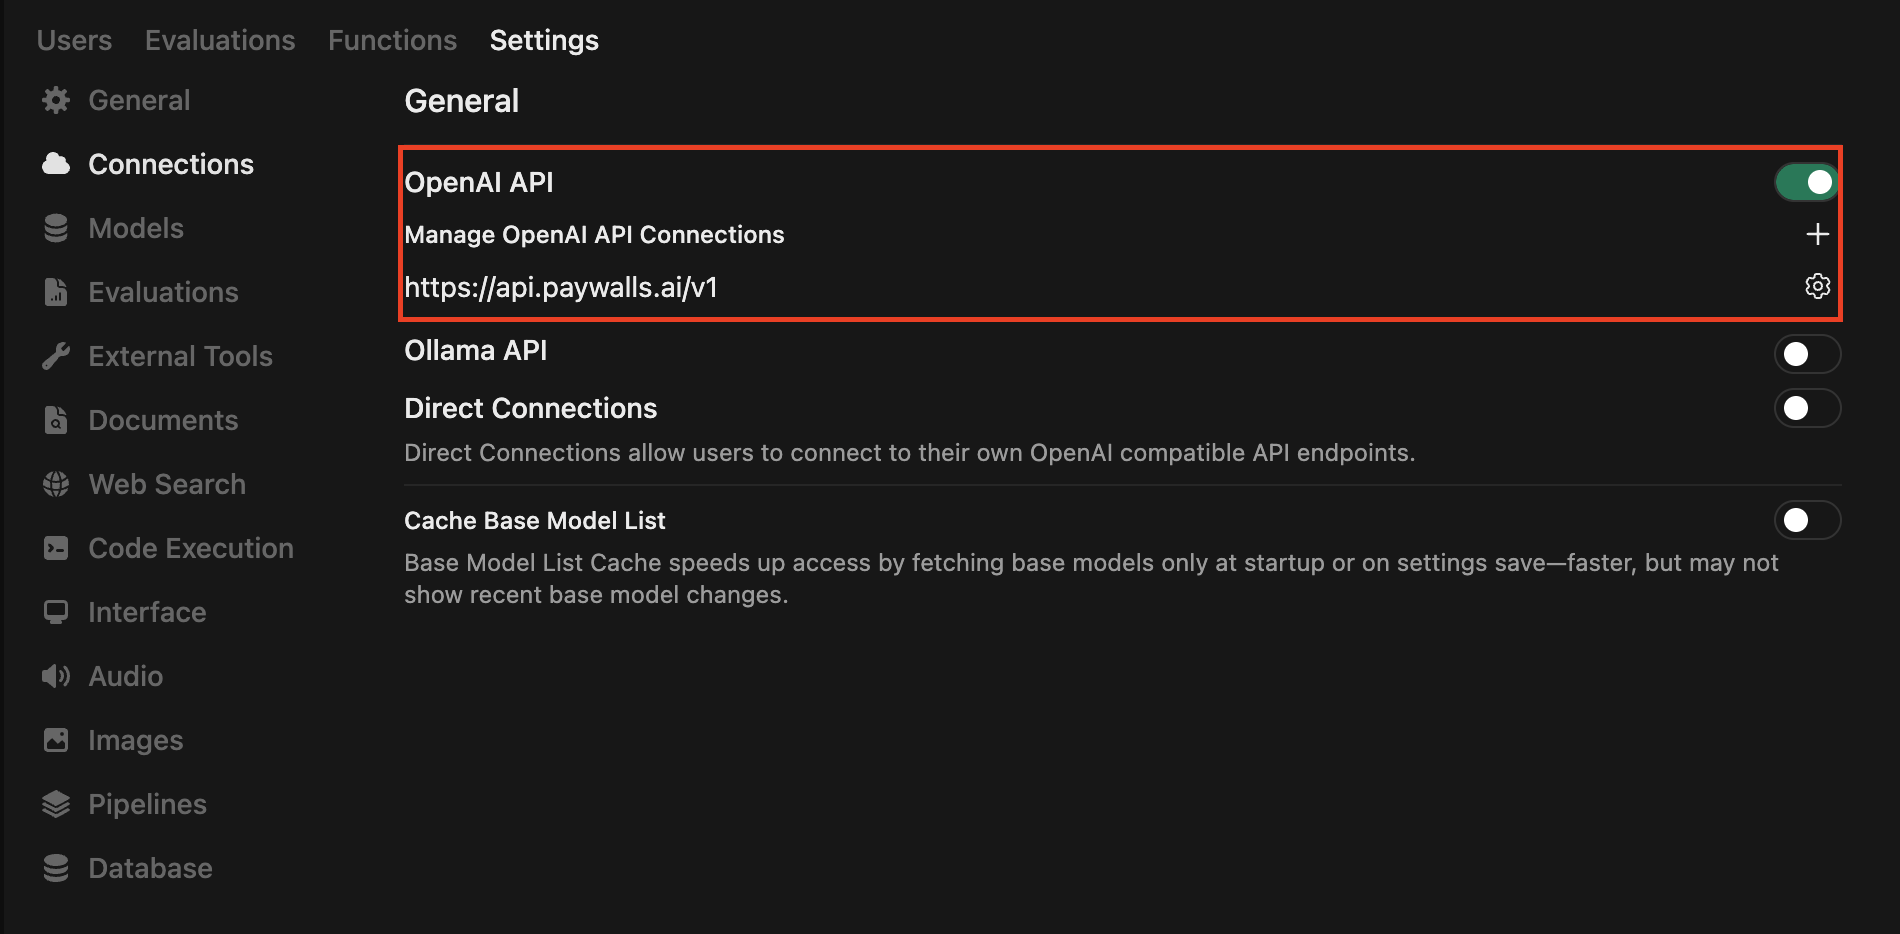
Configure the endpoint
Fill the form with the Paywalls details:
- Provider: OpenAI Compatible - Base URL:
https://api.paywalls.ai/v1 - API Key:
sk-paywalls-...(copied from the dashboard)
- API Key:
- Default model: pick one of the Paywalls backed models, e.g.
openai/gpt-4o-minior leave empty to load all models dynamically.
- Default model: pick one of the Paywalls backed models, e.g.

2. Capture user identity for accurate billing
Paywalls meters usage per end user. Every request must include a stable user identifier via the body-level
user field or the X-Paywall-User header (see Pass user ID for the full rationale).Open WebUI filters can rewrite the JSON payload that is sent to every model. We’ll add one that copies the signed-in user’s WebUI ID into the Paywalls-required 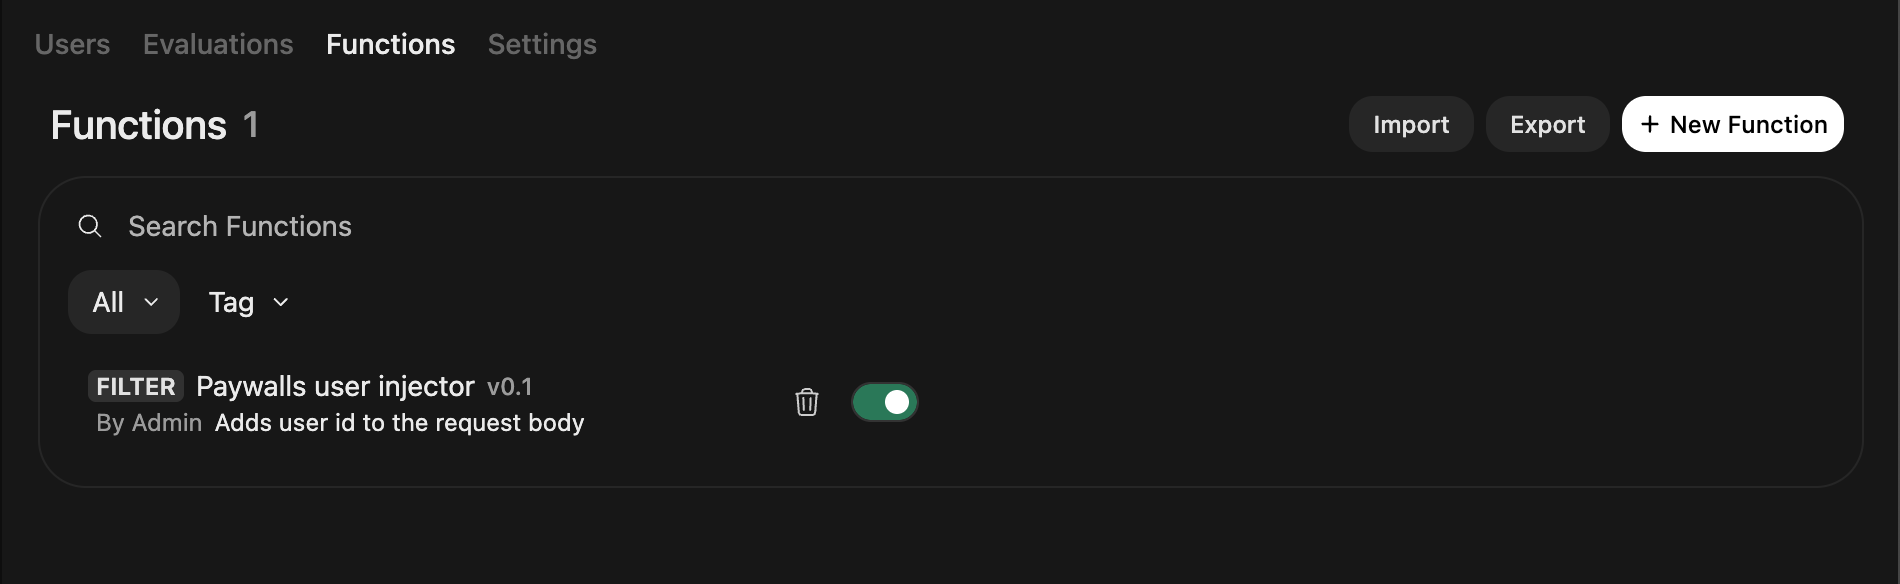
user field so every completion and tool call is attributed (and billed) correctly.Add a new filter
Go to Admin Panel → Functions → Filters → + New Filter,
name it
Paywalls user injector, choose Python, and paste the snippet
below.Open WebUI passes the signed-in user’s metadata via
user when
running filters (see Filter Function
docs).
Returning the modified body makes the change effective for the
upstream API request.
3. Test the integration
Start a new chat
Open WebUI main interface and start a new chat with a model that uses the
Paywalls connection.
Send a prompt
Send a short prompt, e.g.
Hello!. The model should respond
normally, but if your Paywalls balance is zero you’ll get a topup message
instead.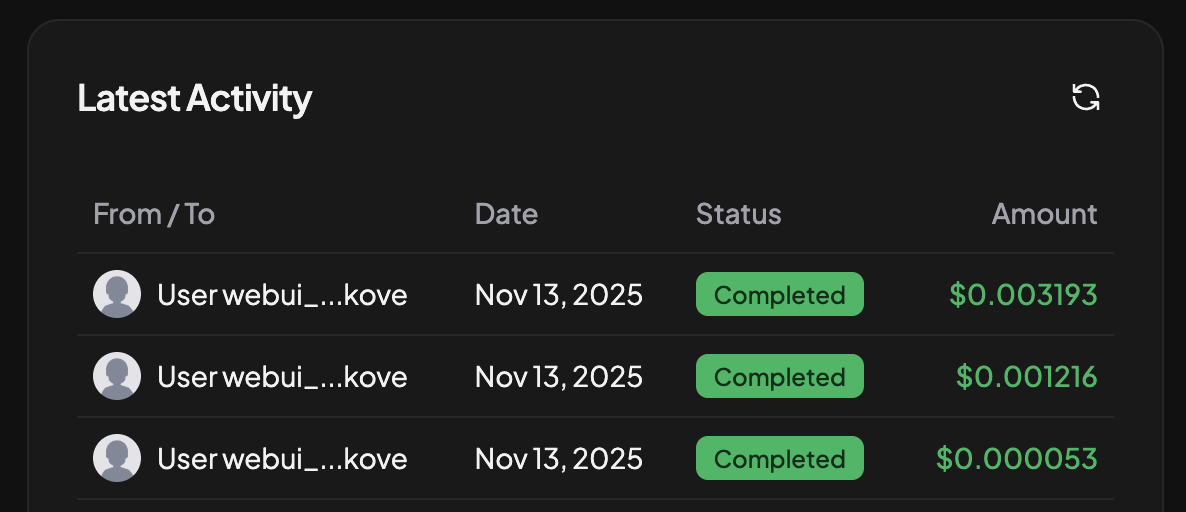
Related
Pass user ID
Full overview of all supported Paywalls user identity mechanisms.
Workspace → Models
Open WebUI’s reference for managing models, filters, and tools.